|
|
||||
| .... |
|
.... |
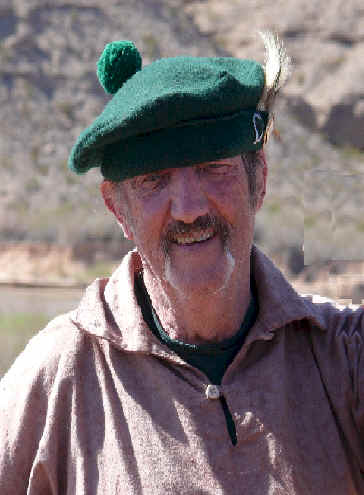
Born and raised in The
Blueridge mts. of Pennsylvania along the banks of the Susquehanna and
Lehigh Rivers. Past president of Waxobe Archers, still active doing
seminars for Archery.
Muzzleloading, Survival along with Horse Travel. I build all my own
arrows, tune bows. A Powder Horn builder, member of the National Horner's
Assn.
Over the years I've written
numerous articles for Outdoor Magazines. Wrote for Tomahawk and
Long Rifle and now The North American Frontiersmen Magazine.
_______________________ |
.... |
|
MAKING FLAT HORNS This is several methods that can be used for making FLAT HORNS. Their are two methods of heat used --wet and dry -- this depends on what you want to make and how you want to reshape the horns. I have learned this from a gentleman Lee Laarkin of the Honorable Company of Horner's of which I am a member of. I have seen Lee's work and I believe he is one of the finest horn makers in America. I'll start with Dry Heat which involves either roasting or baking a horn to get it up to 325 degrees Fahrenheit - the optimum temperature for pressing horns. this can be done in an oven set at 325 degrees (and basically baking the horn for 5 minutes), you can use other sources of heating like a hot plate or an open flame. If you choose to go this route just remember to keep it moving. I prefer the oven method. I take a large roasting pan and having cut and drilled the tapered end of the horn I run a stiff wire through the horn and lay it over the pan. Pre heat the oven, open the oven place the pan in and set the timer. When the timer rings make sure you have thermal gloves. Remove the pan. It sure helps if you have help. I have a long template that I place inside the horn, place it inside the horn and put it in the vice between two boards and begin to tighten. You have to move fast. If I should need added heat to a certain area I will use a propane torch. When I get it to the size I want I generally leave it over night. I'm sure in an hour or so it will be fine to continue work.
Dry heat works great
for reshaping the base end of a horn. You can use a conical
wood form and insert it in the base end once the horn is hot.
I make all my wood conical forms to a 10 degree angle. This
seems to work best on most horns. When the horn cools you can
knock the form out and you will have a nice round opening for a
plug. I like using dry heat for making small pocket horns.
As I mentioned before I will use a propane torch to apply heat to
horn when I'm making a mug handle or a spoon, anything fancy.
Just remember this method Stinks. So make sure your lady is out of the house for a day or so. Otherwise do it outside. I have no sense of smell at all. You can imagine the trouble I get into when the little lady steps into the house.
|
Wet heat is another
way to get a horn up to 325 degrees F. This is traditionally
done using tallow or whale oil. Today, the cost of whale oil and
the availability of good tallow makes it difficult to heat horn this
way. Most Horner's today have adopted lard as the best
alternative medium. I have one of those Turkey cookers that
allows me to heat my lard outside. If you can move your vice
outside that's a good thing. Now get your lard up to 325 degrees
and again use a long wire like a coat hanger and submerge the horn for
5 minutes. Remove the horn insert the template and squeeze it
down. Let it cool no less than an hour.
For the longest time I used water. Well, when you boil water you are only going up to 212 degrees F. This will soften a horn but will not allow the memory of the horn to be permanently altered. After 6 months to a year a horn boiled in water will still try to go back to it's original shape. By using lard and getting the horn up to 325 degrees F. you can radically alter the horns memory so it will never try and go back to it's original shape. This makes for a much better finished horn. As you crank down on the horn to flatten it, keep inserting the form or template. I feathered mine by putting saw cuts in the end to be inserted. I then use a wood dowel and hammer to tap the insert all the way into the horn. Once the horn is completely pressed, let it cool and remove it from the press. Knock out the wood form and your ready to carve or decorate your horn as you see fit. These are pretty rudimentary ways to heat and flatten a horn, but I hope this will help you with your experiment. Again I warn you, don't do this in the house. It's a pretty stinky process. Want a surprise. Before you flatten your horn fill it with water and pour it into a measuring cup. After you flatten the horn and it is cool. Fill it again with water and now pour it into a measuring cup. You will find that you will loose one third its capacity. Go figure.. _______________________ Look for me at an NAF rendezvous and we will shoot some stumps.
|
|||
|
period archery pertaining to those than went before us. Page 5 |
||||